
This article provides all the details on how to install Oracle 19c database software on Oracle Enterprise Linux (OEL) 7 in an Amazon AWS EC2 instance. Additionally, the installation option chosen below creates a starter Oracle 19c database as well.
Note: For easier identification purposes, all Operating system (OS) commands and Oracle database commands that are to be executed in the Linux server are shown in Orange color in Bold.
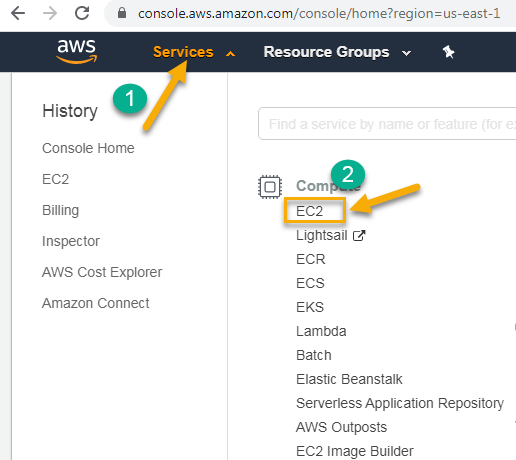
Create an Oracle Linux server in AWS
Note: You can skip the below AWS account creation process if you already have an existing account.
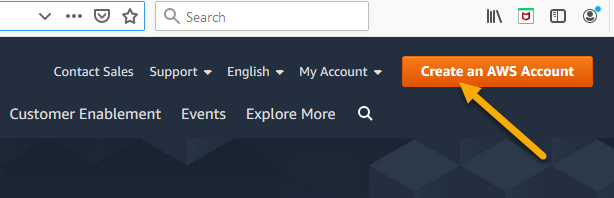
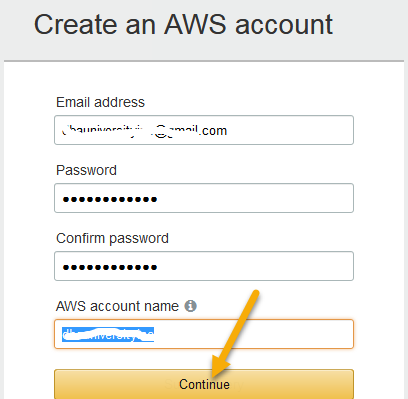
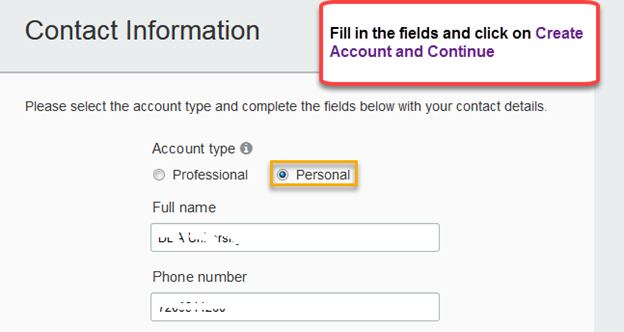
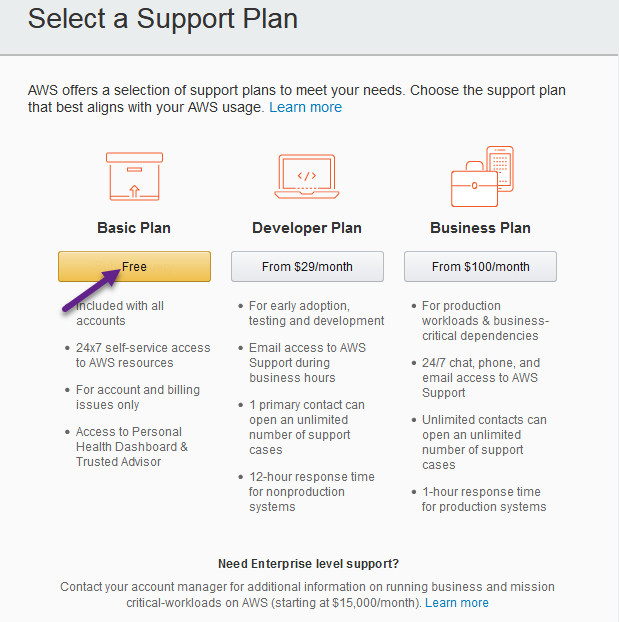
https://console.aws.amazon.com/
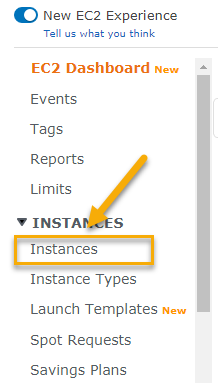
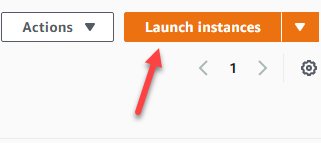
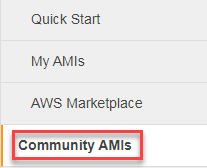
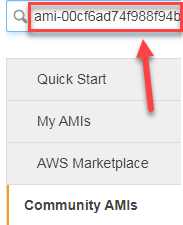
Enter ami-00cf6ad74f988f94b in the top left-hand corner.

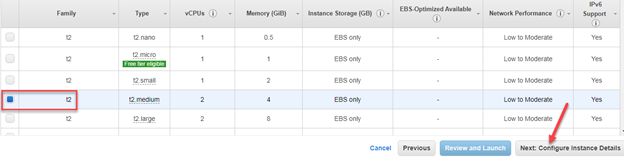
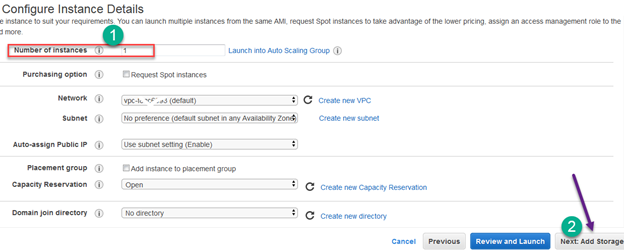
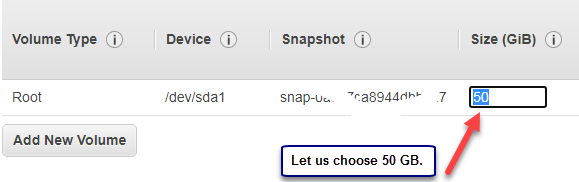
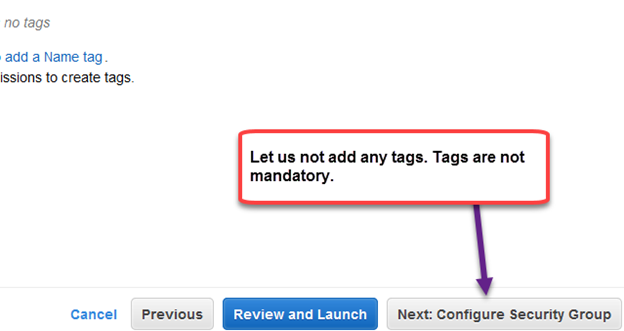
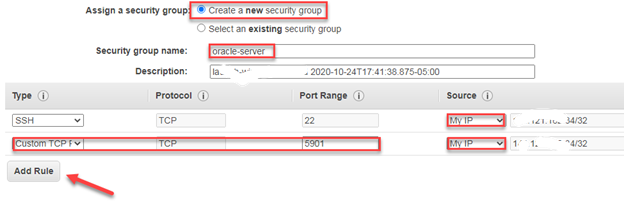
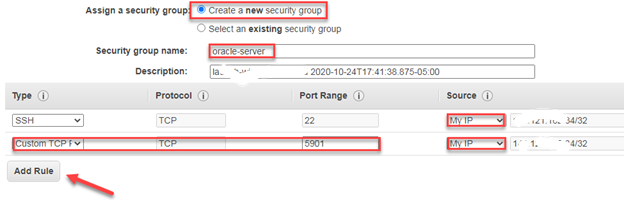
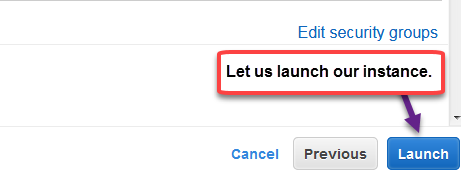
Note: You can choose an existing key pair if you already have one.
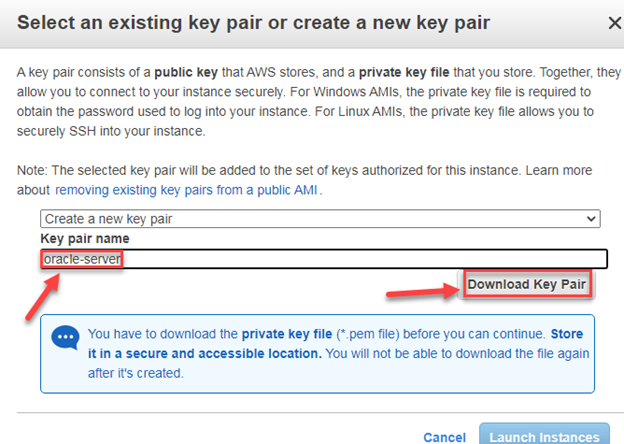
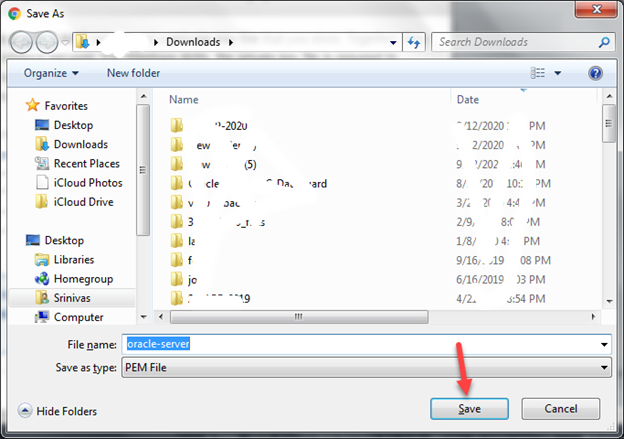
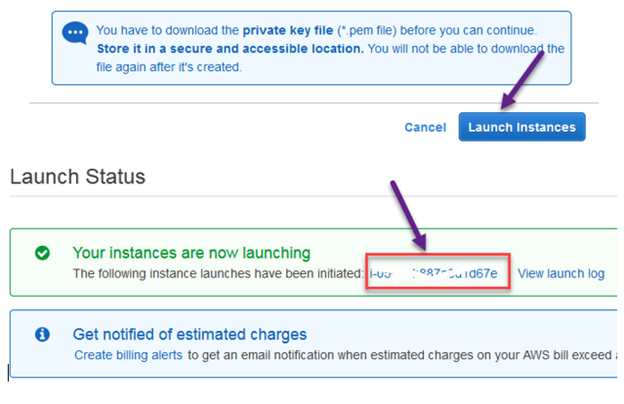
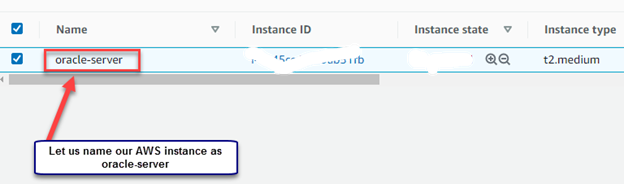
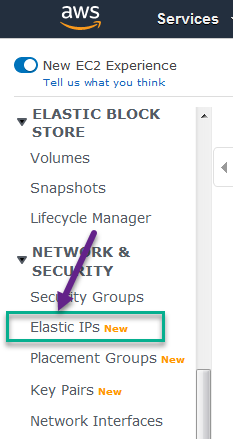
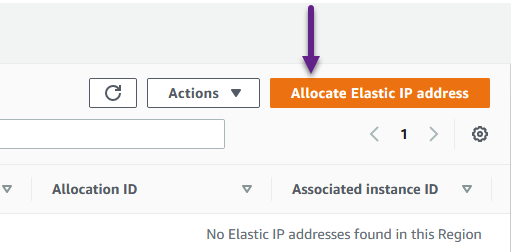
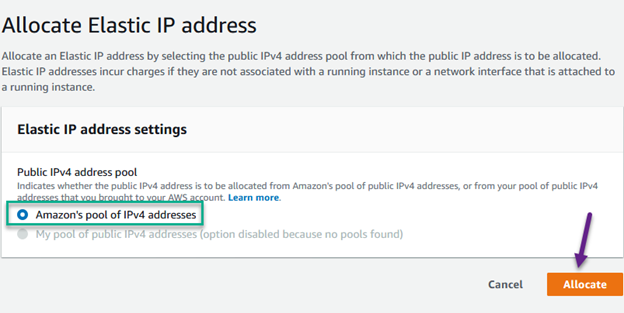
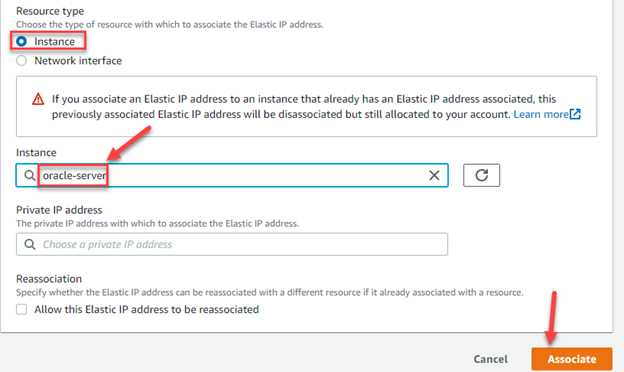
Elastic IP addresses
An Elastic IP address is a static IPv4 address designed for dynamic cloud computing. An Elastic IP address is associated with only one server at any given time in your AWS account. An Elastic IP address is a public IPv4 address, which is reachable from the internet.

Install Productivity software tools in your PC
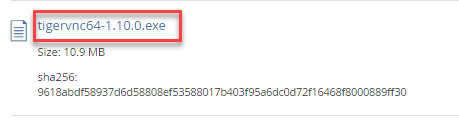
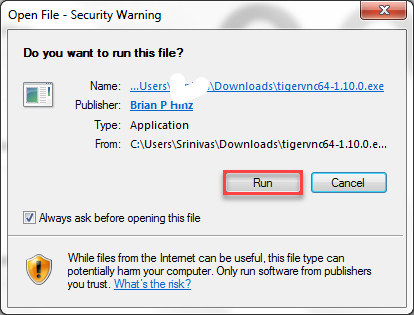
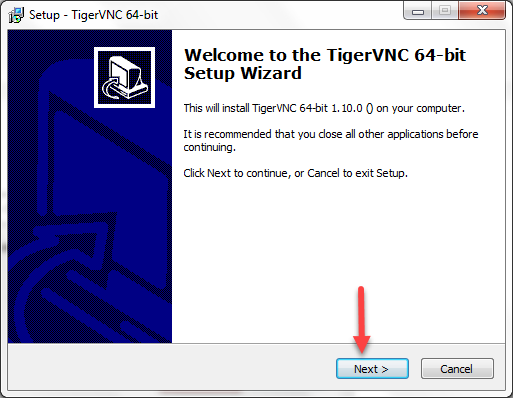
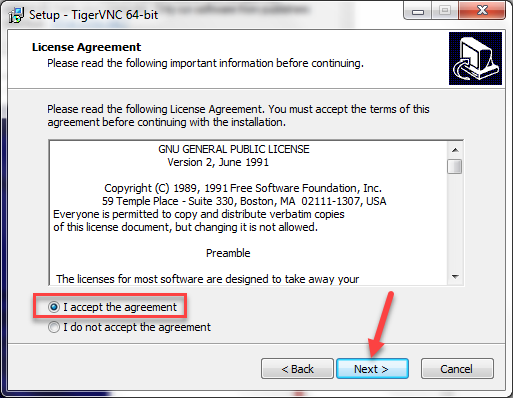
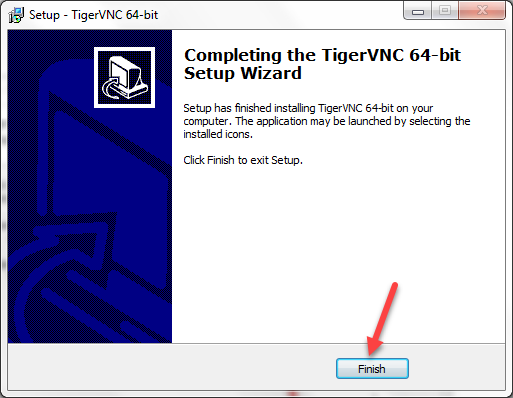
TigerVNC Viewer (Windows PC only)
https://bintray.com/tigervnc/stable/tigervnc/1.10.0

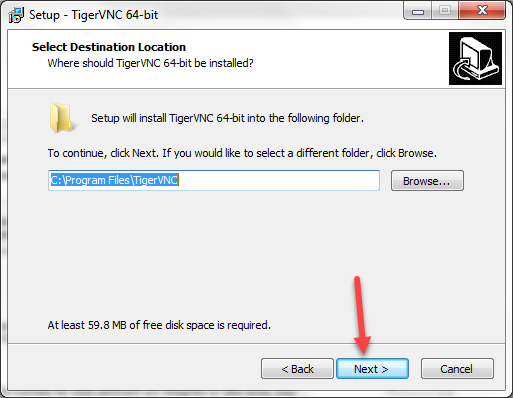
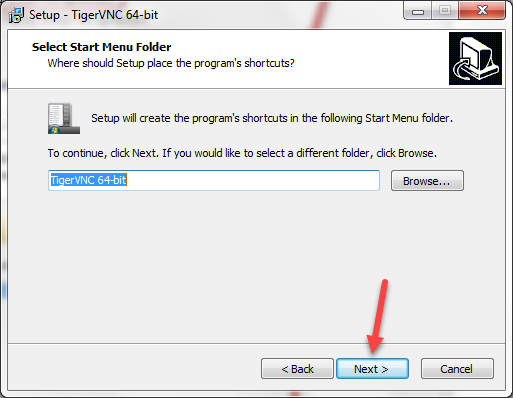
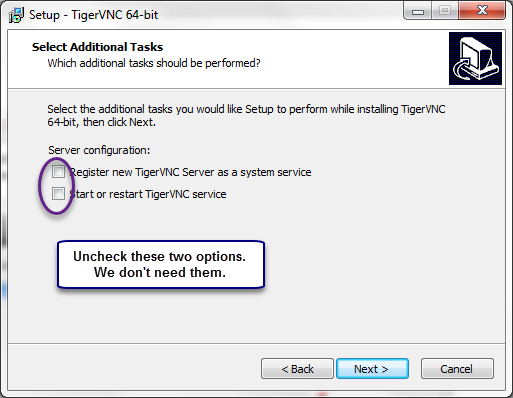
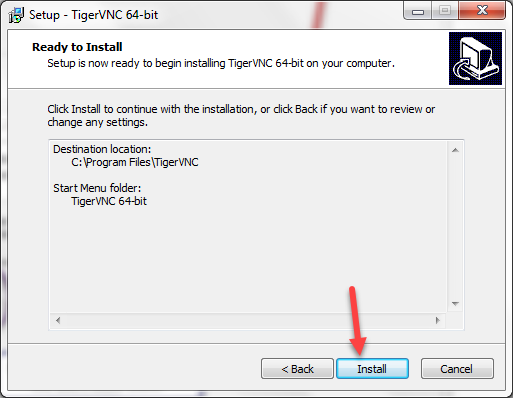
Chicken VNC (MAC computers only)
MAC Operating System requires a separate tool called “Chicken VNC”.
http://sourceforge.net/projects/cotvnc/ and Download it
MobaXterm
https://mobaxterm.mobatek.net/
Add recommended packages and the Oracle 19c package in the Oracle Linux server
Please login to the Oracle Linux server using MobaXterm with user name ec2-user and port 22
sudo su - root
cat /etc/oracle-release
yum install oracle-database-preinstall-19c
yum install vnc
yum install vnc-server
yum install xterm
yum groupinstall "X Window System"
yum install kdebase
yum install gnome-terminal
yum groupinstall "KDE"
yum install unzip
yum install zip
yum groupinstall fonts
yum update
usermod -g dba oracle (The RPM oracle-database-preinstall-19c already creates the oracle operating system user with oinstall as the default group. This command changes the default group to dba)
rm -rf /tmp/.X11-unix/
cd /lib/systemd/system
Make a copy of vncserver@.service
Edit vncserver@.service and replace <USER> with oracle. Leave the remaining lines of the file unmodified.
systemctl daemon-reload
systemctl enable vncserver@:1.service
systemctl start vncserver@:1.service
Edit /etc/rc.d/rc.local and add the line service iptables restart
chmod +x /etc/rc.d/rc.local
service iptables restart
sudo su - oracle
vncpasswd (Enter oracle as the password)
export DISPLAY=:1.0
xhost +
exit
passwd root (Enter oracle as the root password)
cd /etc/sysconfig
cp iptables iptables.backup
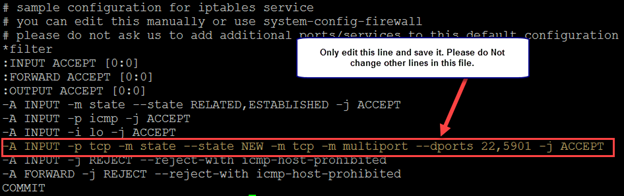
Edit iptables and edit the dports line as shown below
-A INPUT -p tcp -m state --state NEW -m tcp -m multiport --dports 22,5901 -j ACCEPT
Add 4 GB Swap space
dd if=/dev/zero of=/swapfile1 bs=1024 count=4194304
chown root:root /swapfile1
chmod 0600 /swapfile1
mkswap /swapfile1
swapon /swapfile1
Edit /etc/fstab and add the line shown below
/swapfile1 none swap sw 0 0
free -m (The swapsize must be shown as 4GB now)
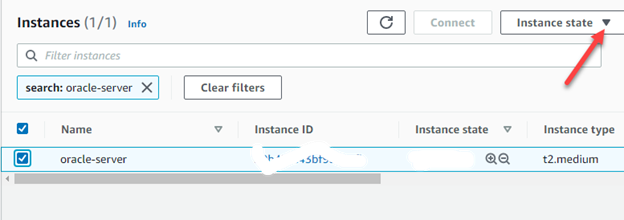
Stop and Start the instance (server) in AWS console
Download Oracle 19c database software to your PC
https://www.oracle.com/database/technologies/oracle19c-linux-downloads.html
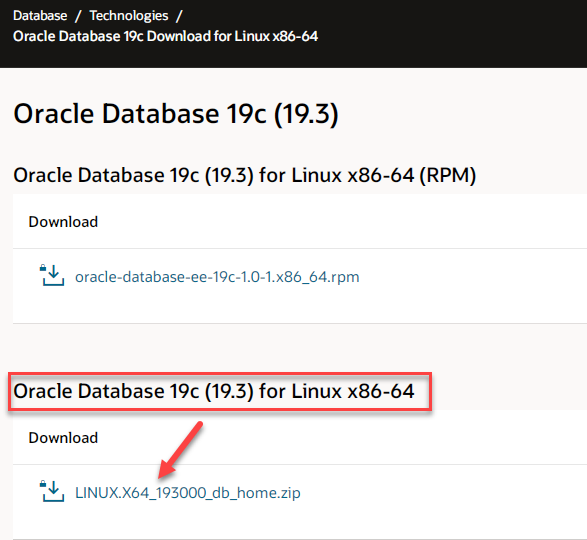
Download LINUX.X64_193000_db_home.zip
Downloading Oracle software requires a new Oracle account. A free account can be created in a few minutes.
Login to the Oracle server using TigerVNC Viewer
Open a new terminal
su – root (If prompted for password, enter oracle)
Create the inventory location
cd /etc
vi oraInst.loc (Letter I in CAPITALS)
Add the below lines in the oraInst.loc file
inventory_loc=/var/opt/oracle/oraInventory
inst_group=dba

mkdir -p /var/opt/oracle
chown -R oracle:dba /var/opt/oracle
mkdir -p /u01/app/oracle
mkdir -p /u01/app/oraInventory
chown -R oracle:dba /u01/app/oracle
chown -R oracle:dba /u01/app/oraInventory
chmod -R 775 /u01/app
sudo su - oracle
mkdir -p /u01/app/oracle/product/19.0.0/dbhome_1
cd /u01/app/oracle/product/19.0.0/dbhome_1
Note: Transfer this software zip file LINUX.X64_193000_db_home.zip to the /u01/app/oracle/product/19.0.0/dbhome_1 directory in Oracle server using MobaXterm’s SFTP session.
Now come back to the Terminal inside the Linux server
ls -lrt LINUX.X64_193000_db_home.zip (This zip file must be owned by oracle:dba. Otherwise change the ownership by running chown oracle:dba LINUX.X64_193000_db_home.zip as root operating system user)
echo $USER (Must show oracle)
unzip LINUX.X64_193000_db_home.zip
Setup software and create an Oracle 19c database
Login to the Oracle server using TigerVNC Viewer
Open a new terminal
echo $USER (Must show oracle)
export DISPLAY=:1.0
xhost +
cd /var/opt/oracle
mkdir oraInventory (Let us create the inventory location for the Oracle installation log file.)
cd /u01/app/oracle/product/19.0.0/dbhome_1
./runInstaller (Letter I in CAPITALS)
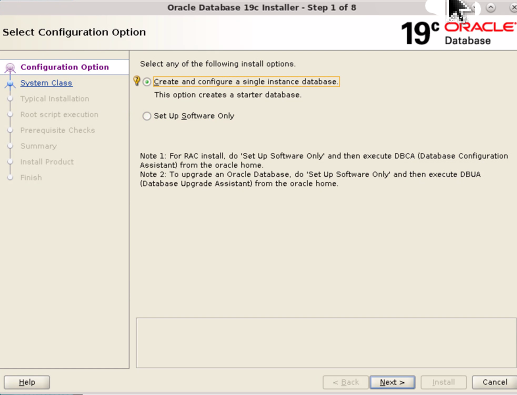
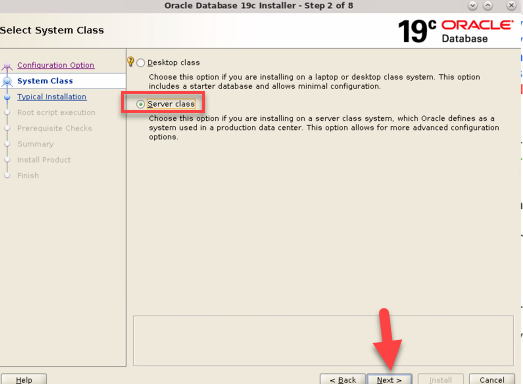
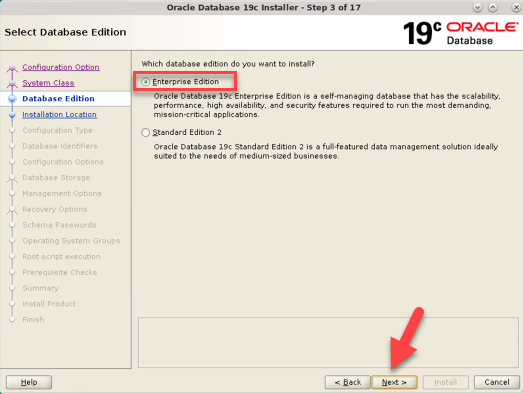
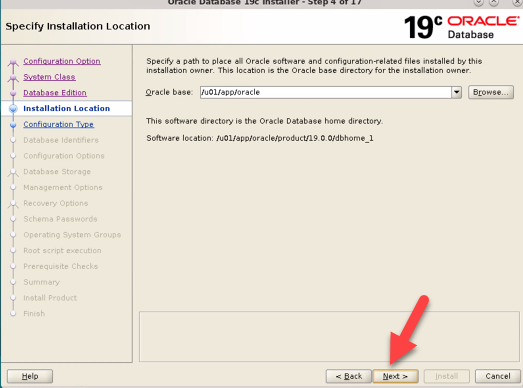
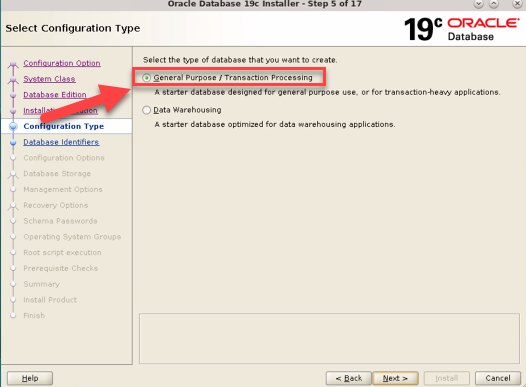
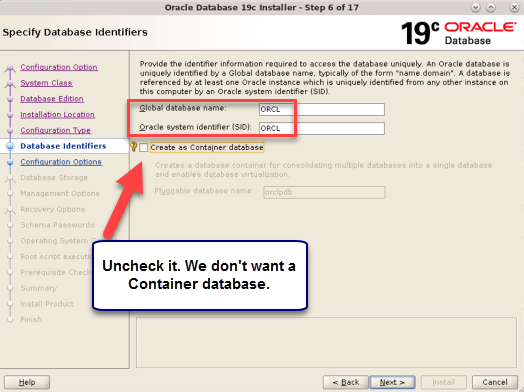
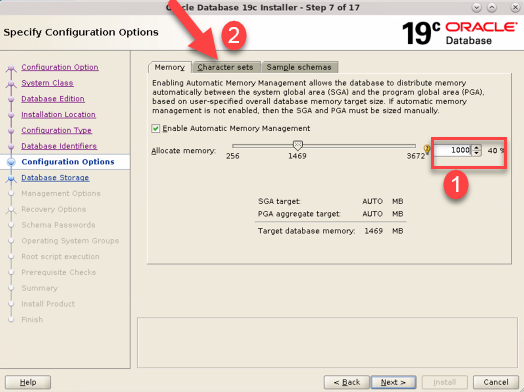
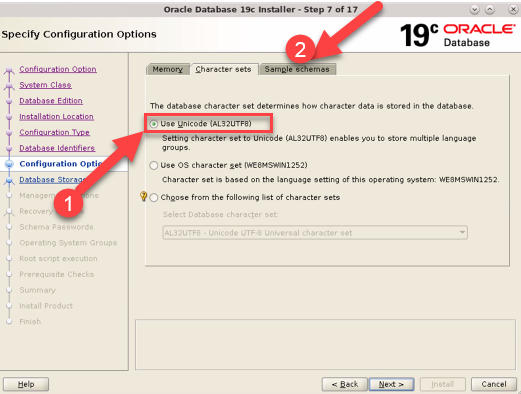
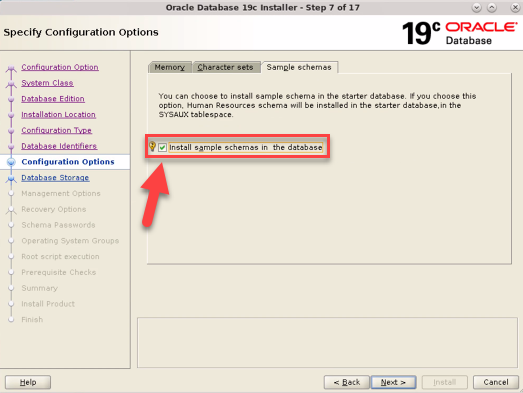
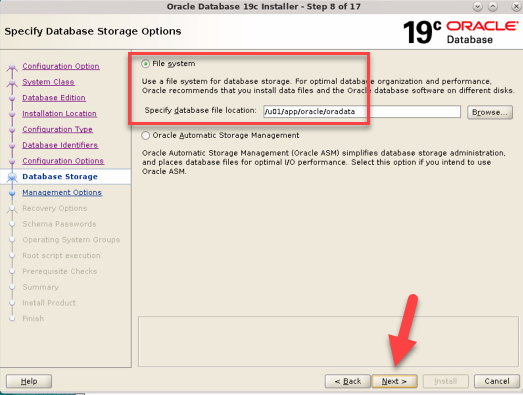
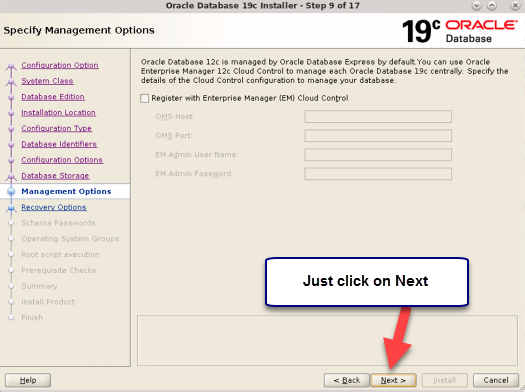
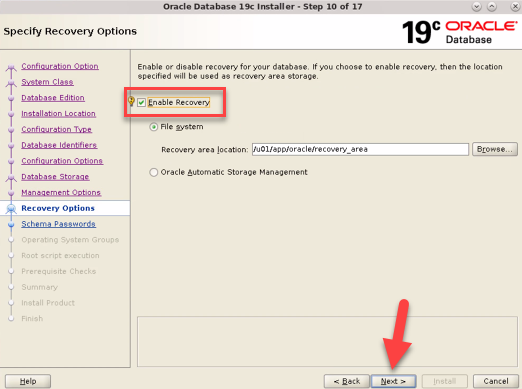
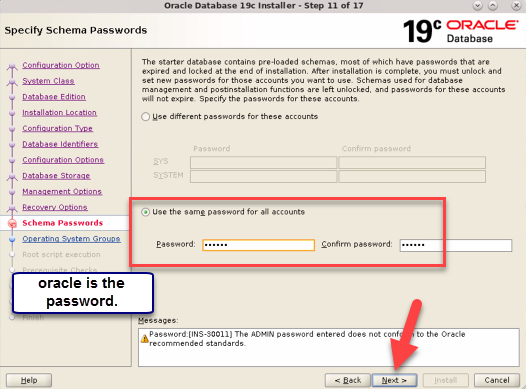
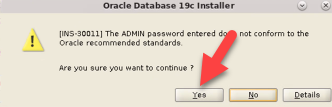
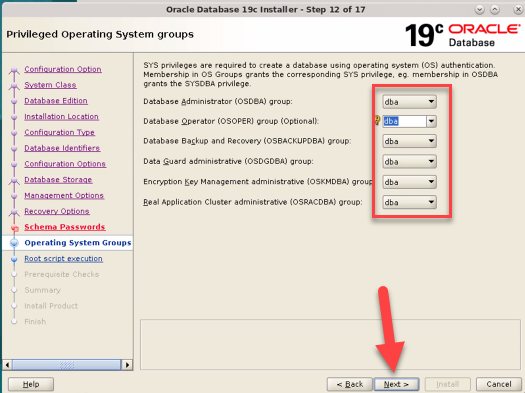
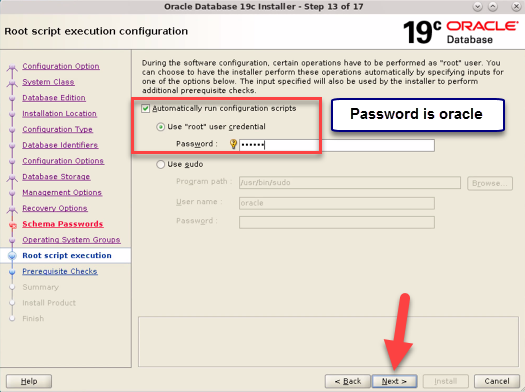
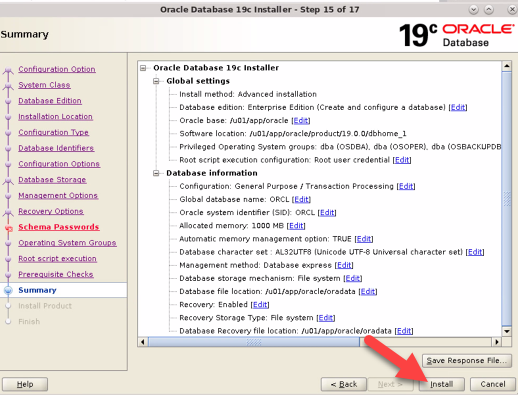
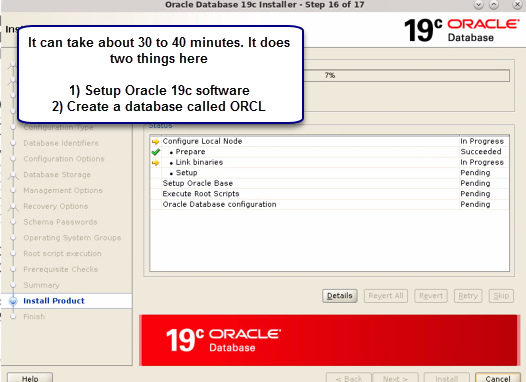
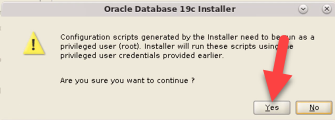
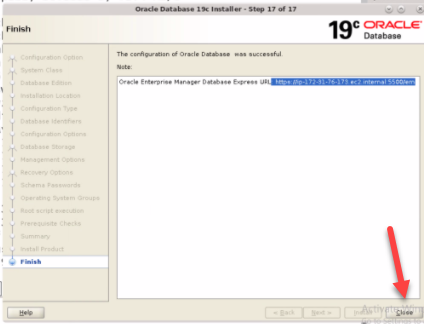
Close the Linux terminal
Open a new Linux terminal
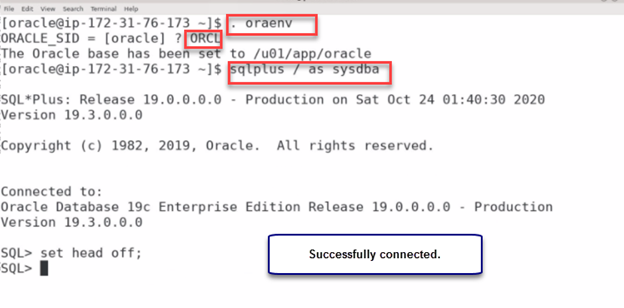
. oraenv (DOT followed by a whitespace followed by oraenv)
Enter the values shown in the below screenshot
Validation of Oracle database creation
select name from v$database; (Must show ORCL)
select status from v$instance; (Must shown OPEN)
select file_name from dba_data_files;
select tablespace_name from dba_tablespaces;
exit

